
Encountering issues with your Download Monitor plugin? Troubleshooting and debugging can help you identify and resolve these issues. By going through this process, you can determine whether the problem stems from an incompatibility or a bug. Download Monitor aims for compatibility with various plugins and themes, but given the vast number of options available, perfect integration cannot be guaranteed for every combination.
First make sure you have the latest version of Download Monitor, WordPress, and PHP. You can find the latest version of Download Monitor here. You can also find WordPress requirements here. If you have these up to date and the issue still happens you can move on to troubleshooting.
For effective troubleshooting, you can utilize the Health Check plugin. This tool offers a Troubleshooting mode that provides a vanilla WordPress environment where all plugins are deactivated, and a default theme is applied. Importantly, this only affects your user session, leaving your site’s visitors unaffected. Here’s how to proceed:
Step 1: Install the Health Check Plugin
- Log in to your WordPress site.
- Navigate to your WordPress admin dashboard and select “Plugins” followed by “Add New.”
- In the search bar, type “Health Check & Troubleshooting.”
- Find the Health Check & Troubleshooting plugin and click on “Install Now.” Wait for the installation to complete, then click “Activate.”

Step 2: Prepare for Troubleshooting
Before diving into troubleshooting, it’s wise to create a backup of your website. You can use a plugin like UpdraftPlus to facilitate this process. Alternatively, check if your hosting provider offers website backup services or consider generating a backup from your cPanel if feasible.
Step 3: Activate Troubleshooting Mode
The Troubleshooting mode of the Health Check plugin enables you to deactivate plugins and switch themes while keeping your website’s appearance intact for visitors. Follow these steps:
- Navigate to “Tools” in the WordPress dashboard.
- Select “Site Health.”
- Click on “Troubleshooting.”
- Opt to “Enable Troubleshooting Mode.”

Step 4: Test Download Monitor
Now that you’re in Troubleshooting Mode, you can proceed to test the Download Monitor plugin:
- Navigate to “Plugins.”
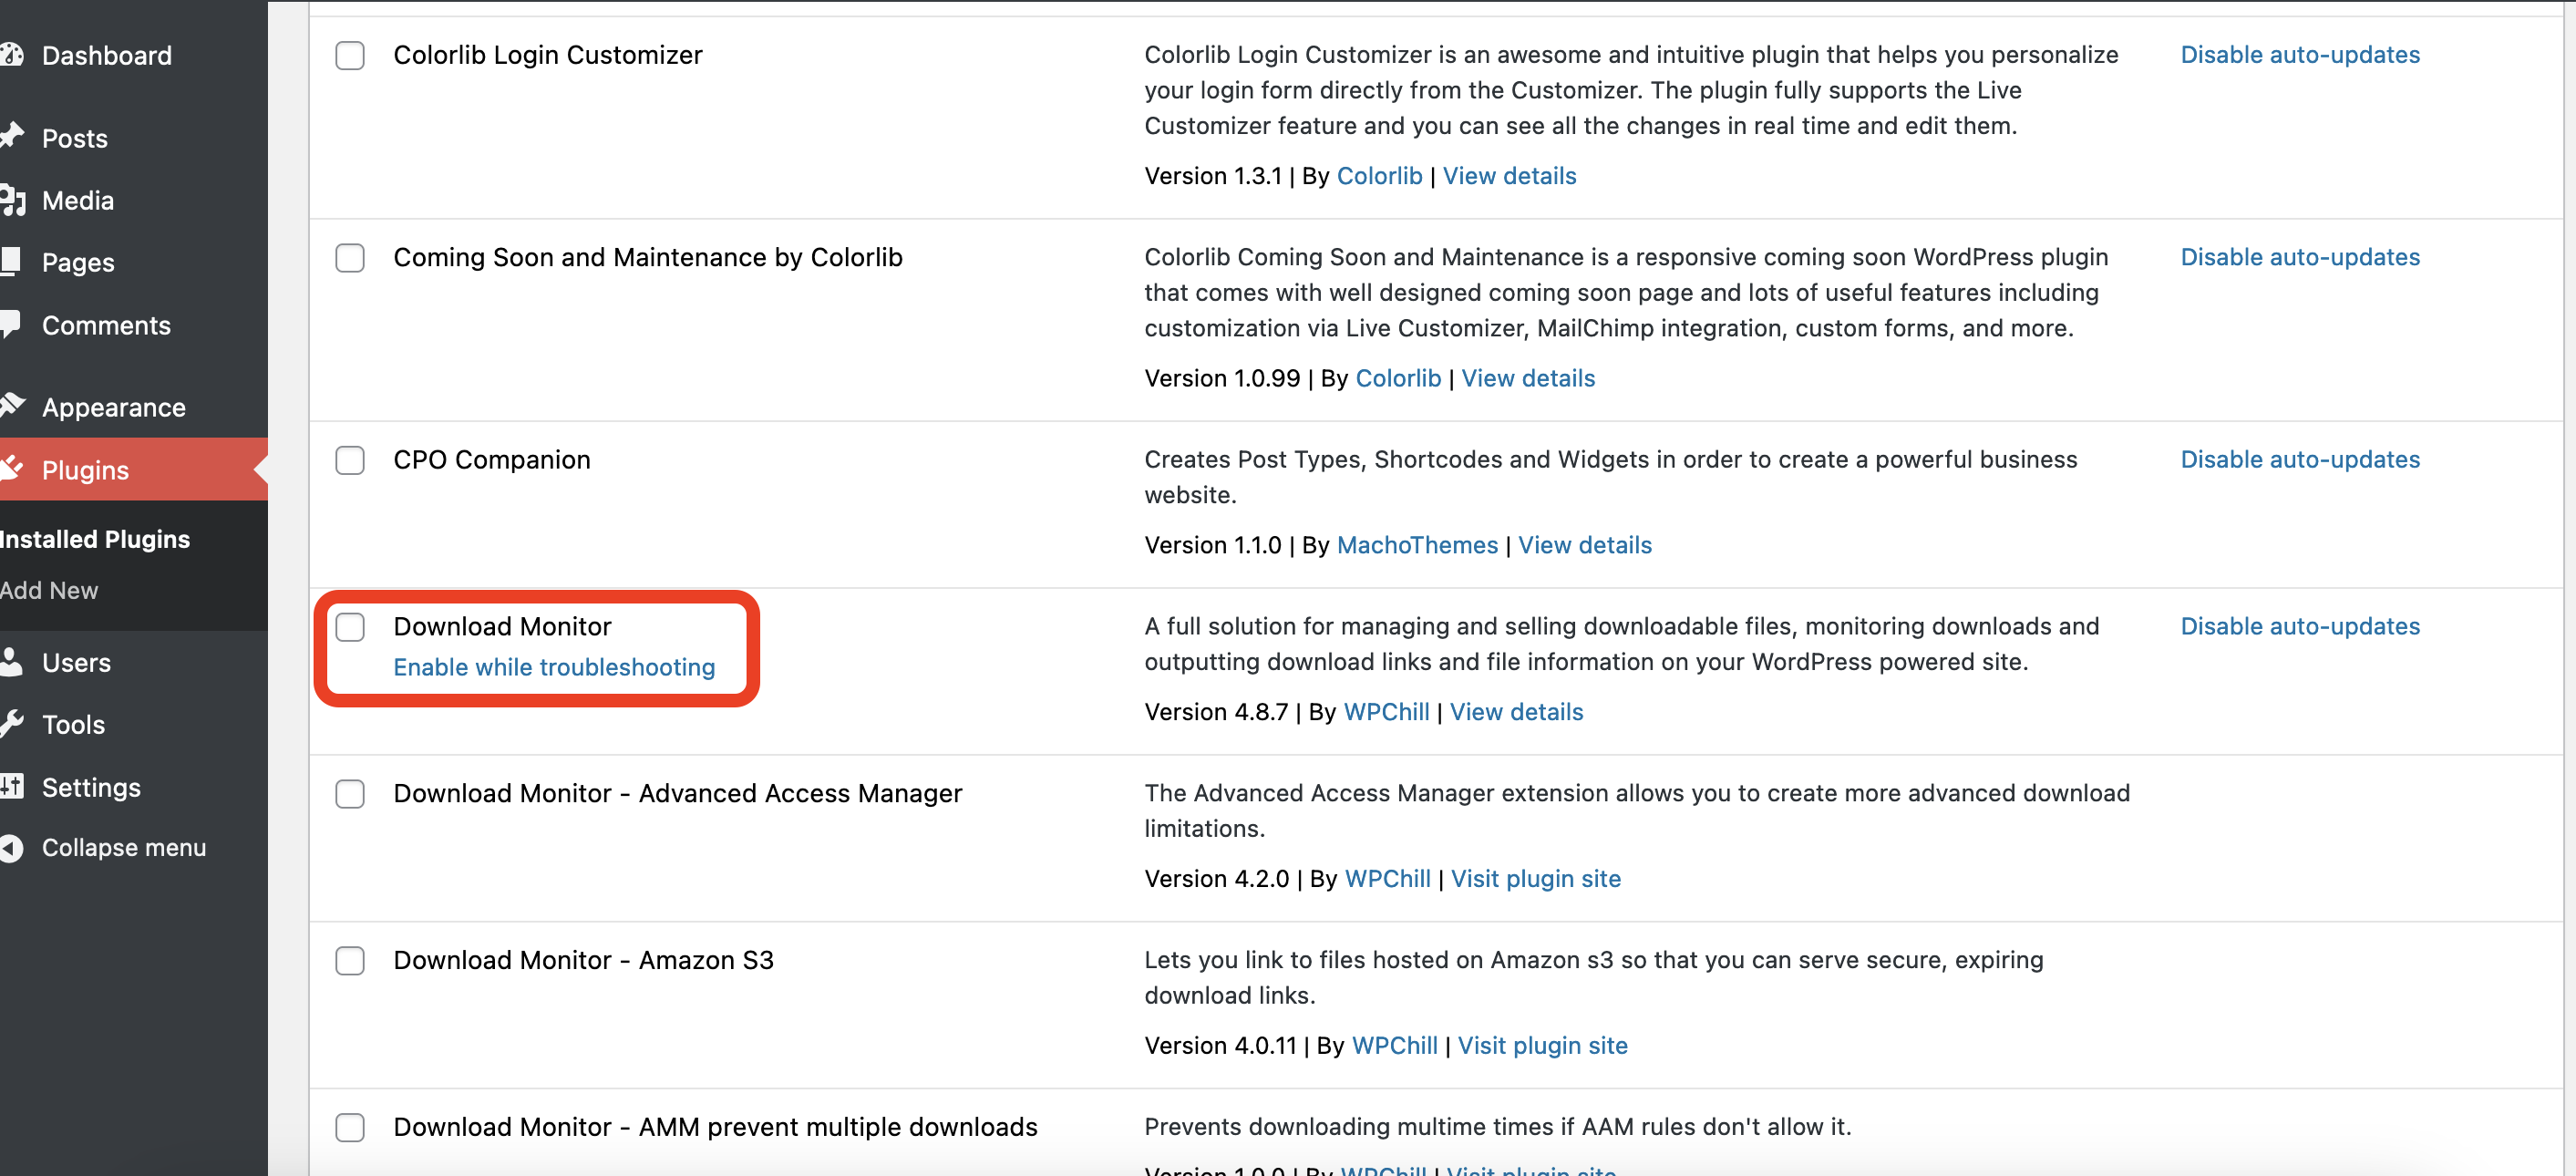
- Locate the Download Monitor plugin and click “Enable” while in the troubleshooting state.
With Download Monitor enabled in this mode, you can assess its behavior without interference from other plugins or themes.
Step 5: Identifying Incompatibilities
Should Download Monitor function correctly in Troubleshooting Mode, it suggests a compatibility issue with something on your site. To identify the conflicting element:
- Begin reactivating plugins one by one.
- After activating each plugin, test Download Monitor’s behavior. If an issue arises, you’ve likely identified the incompatible plugin.
Step 6: Deactivate Troubleshooting Mode
Once you’ve finished troubleshooting, it’s time to deactivate Troubleshooting Mode:
- Return to your site’s dashboard.
- Look for the option to “Disable Troubleshooting Mode” and click on it.
By following these steps, you can efficiently troubleshoot and debug any issues with the Download Monitor plugin, ensuring that your website functions smoothly and efficiently.