Installing Download Monitor is pretty easy. Like other free WordPress plugins, installing the Download Monitor plugin is done via your WordPress admin panel. There are two ways to install Download Monitor.
From your WordPress dashboard
- In your WordPress admin panel, go to Plugins > Add New.

- In the search bar on the upper right corner, type Download Monitor, and when you find the plugin, click Install Now.

- Next, you need to activate the plugin, and you’re done.

The Download Monitor plugin will pop up in your WordPress menu.
From WordPress.org
Moreover, you can also download Download Monitor from WordPress.org > Plugins.
- In the search bar, type Download Monitor.

- When you find the plugin, click on it. On this page, you will find information about Download Monitor and its features, as well as a download button – click on it.

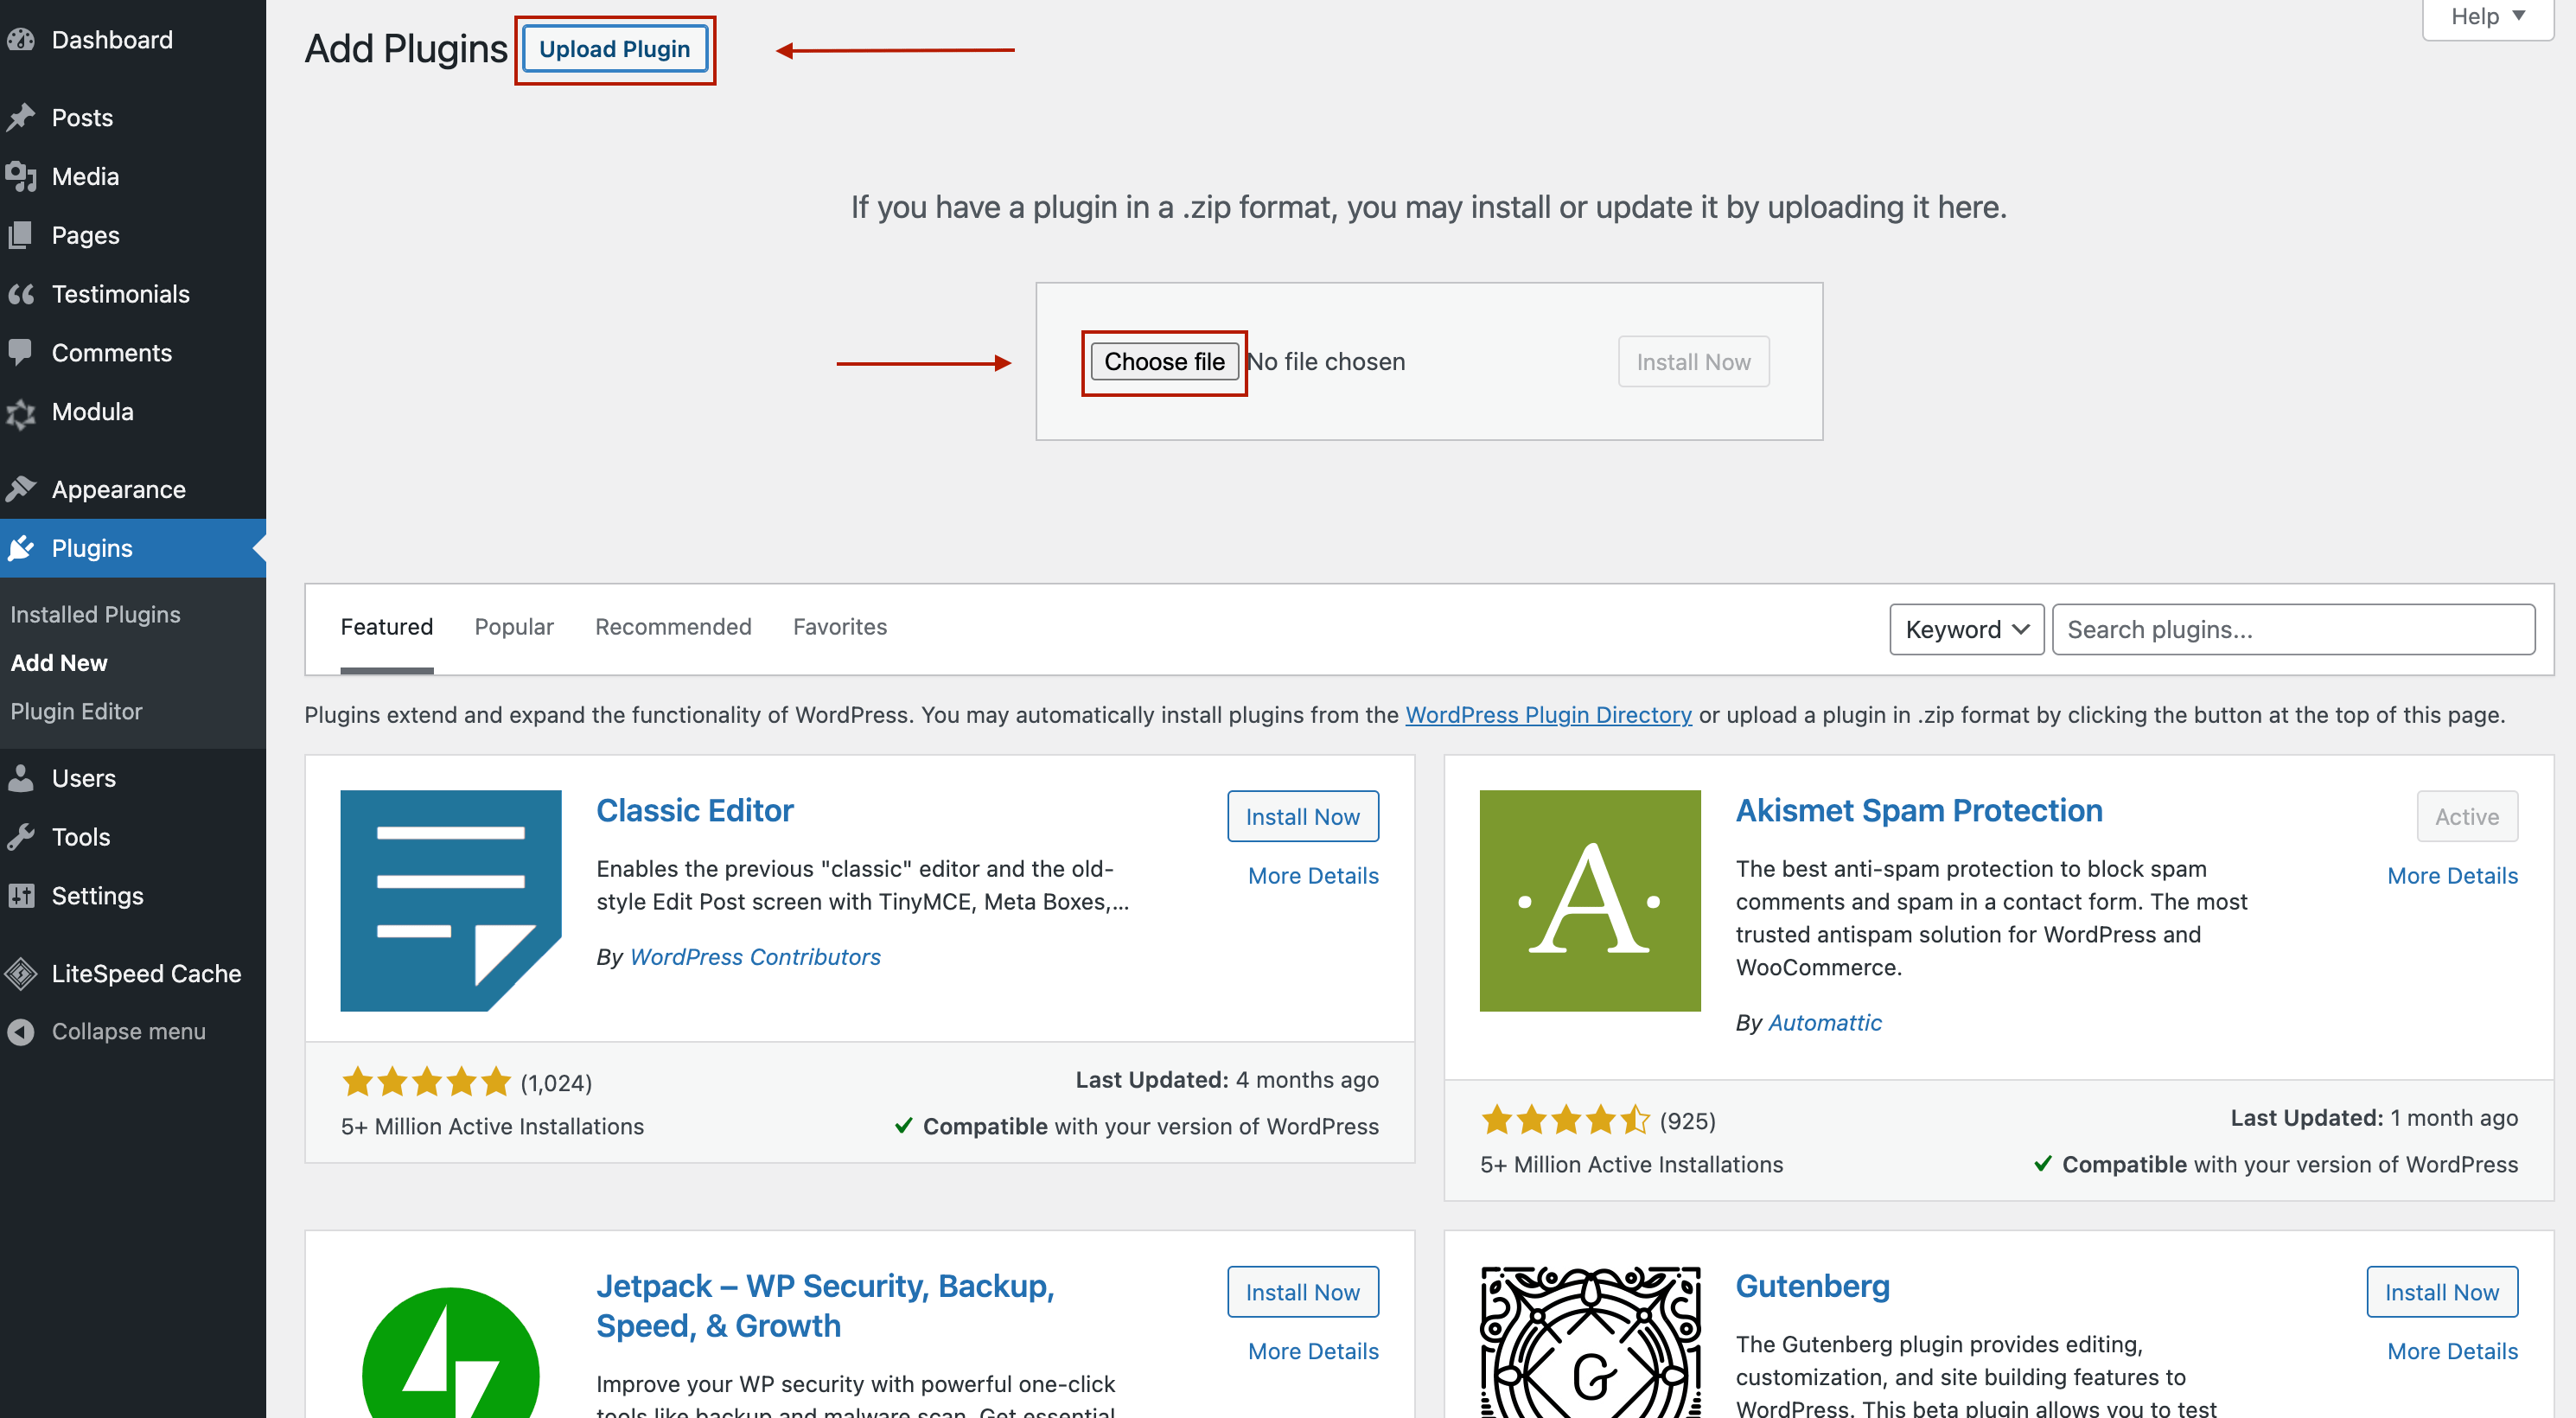
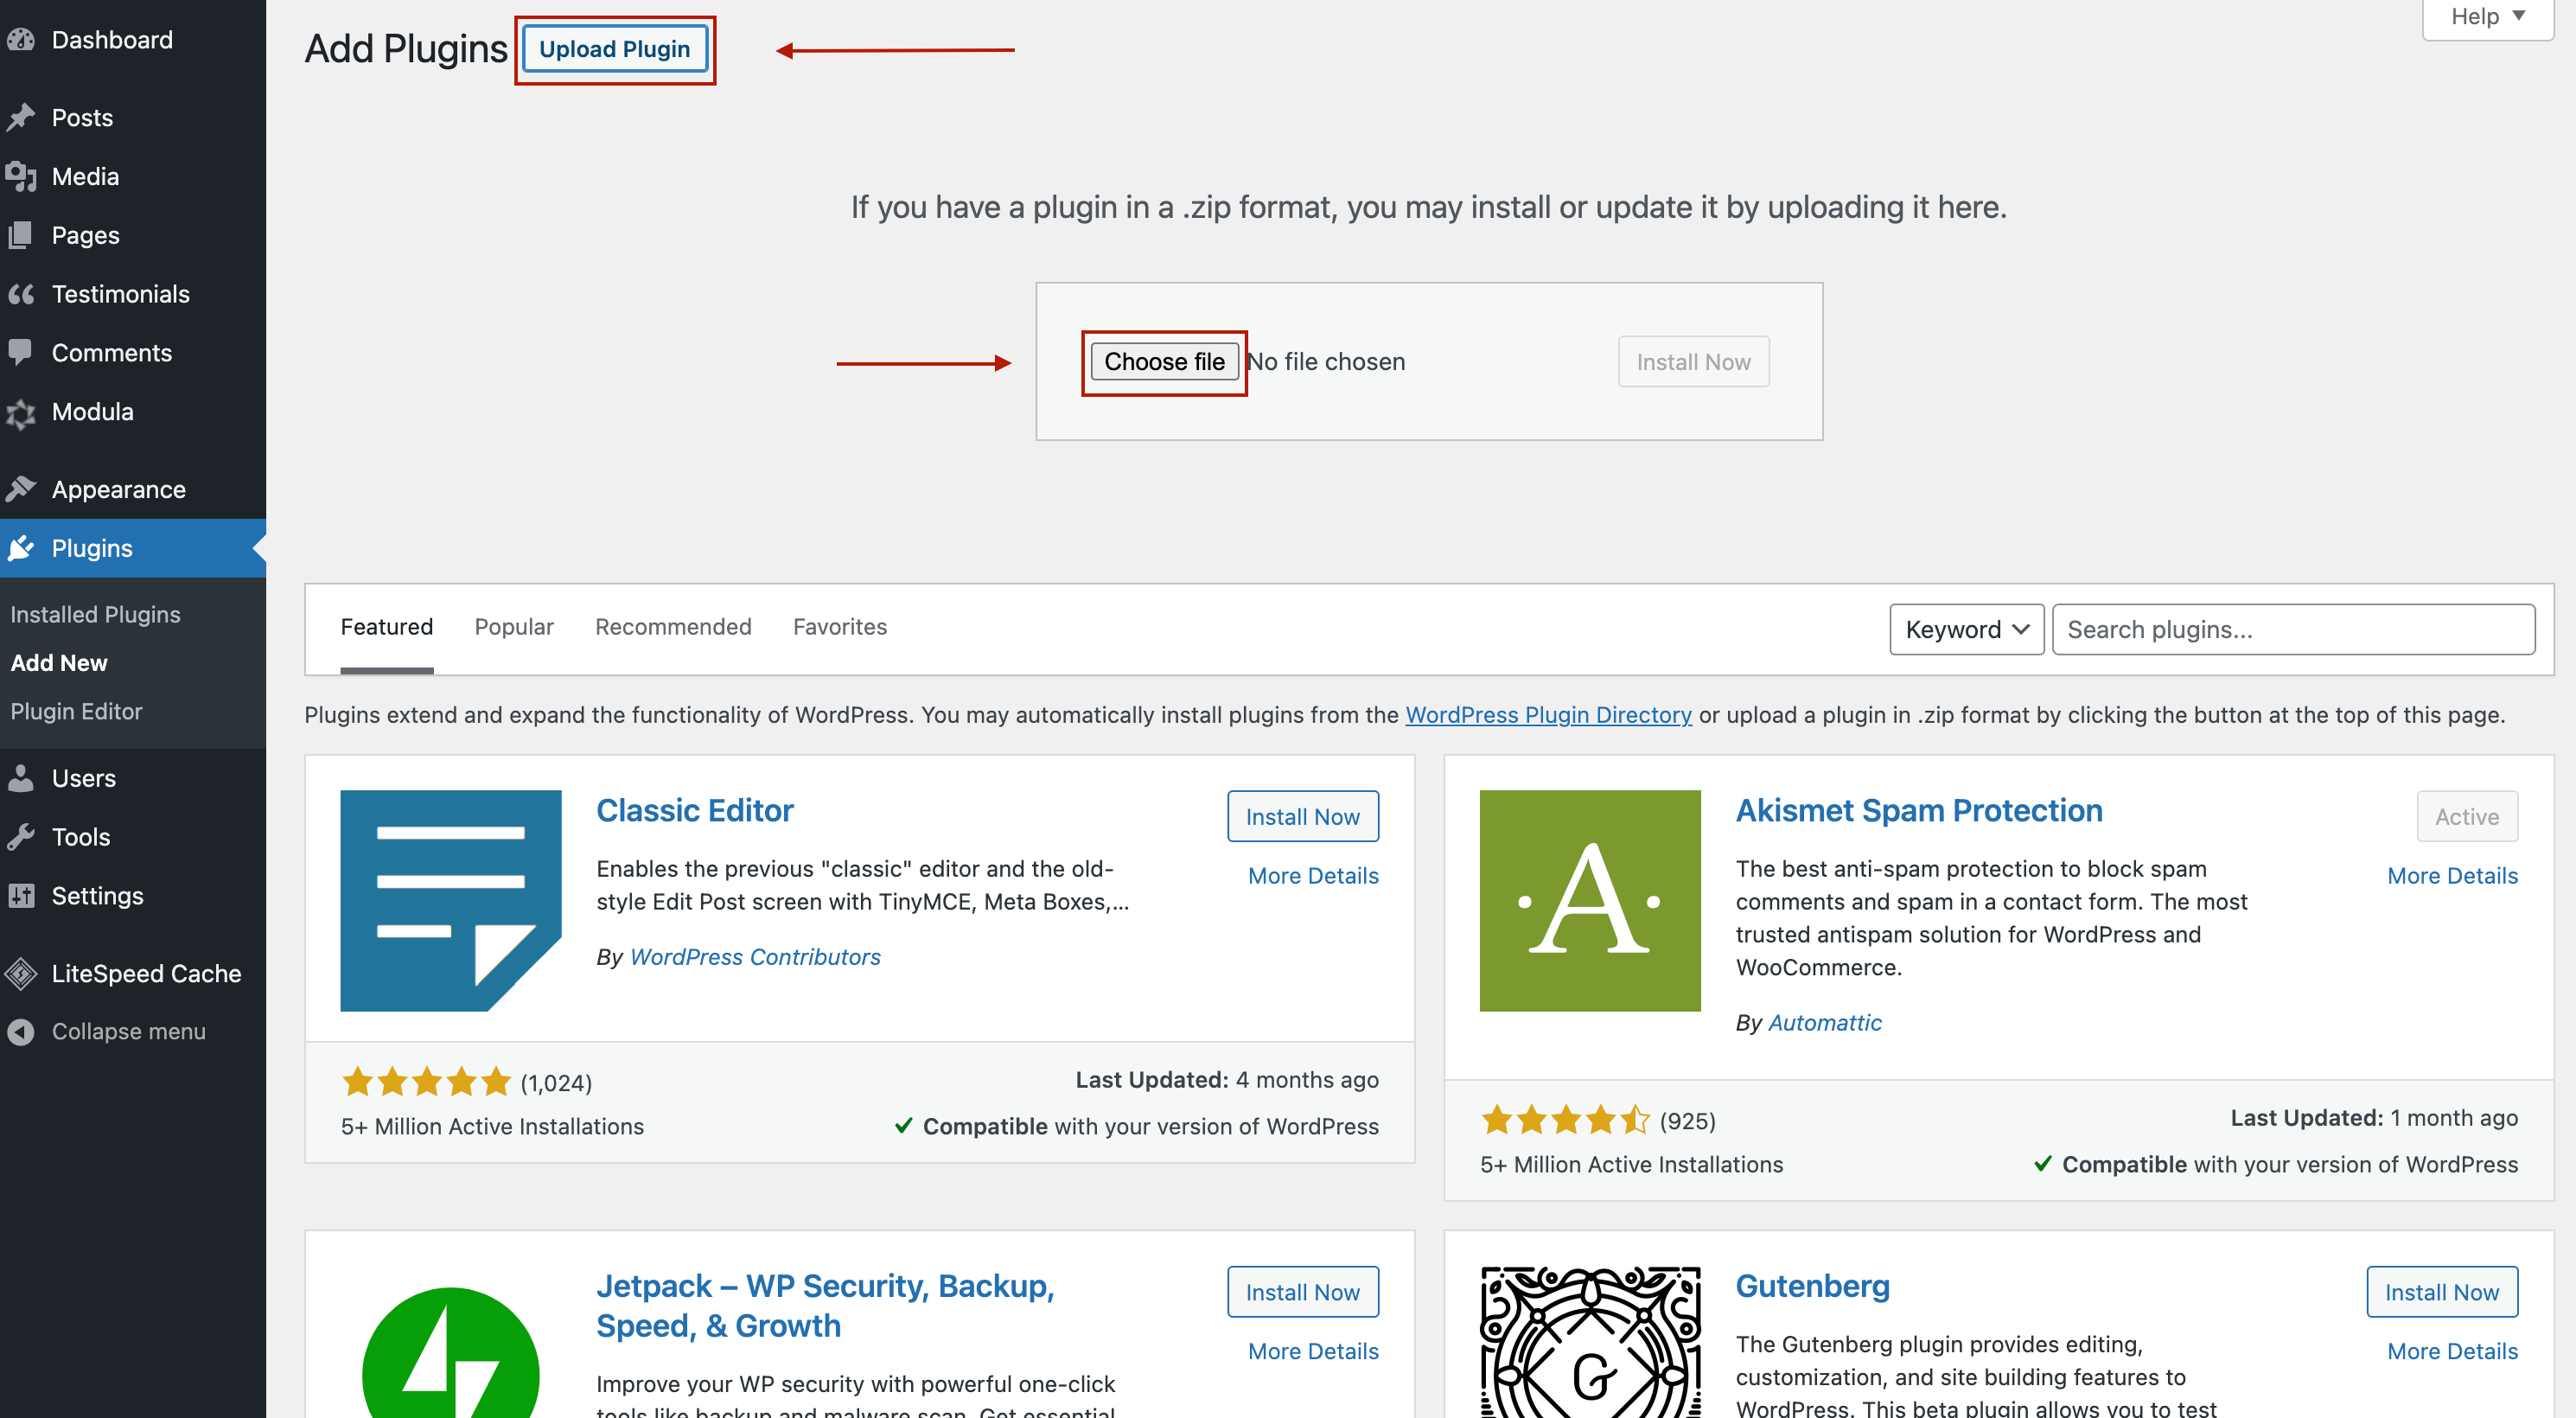
- A zip file will download to your computer. Next, go to your WordPress dashboard > Plugins > Add New. In the upper left corner, you can also see an Upload Plugin button. Click on it to add the Download Monitor plugin.

- After you press Choose file, look for the Download Monitor zip file and upload it.

- Click Install Now and wait a couple of seconds.

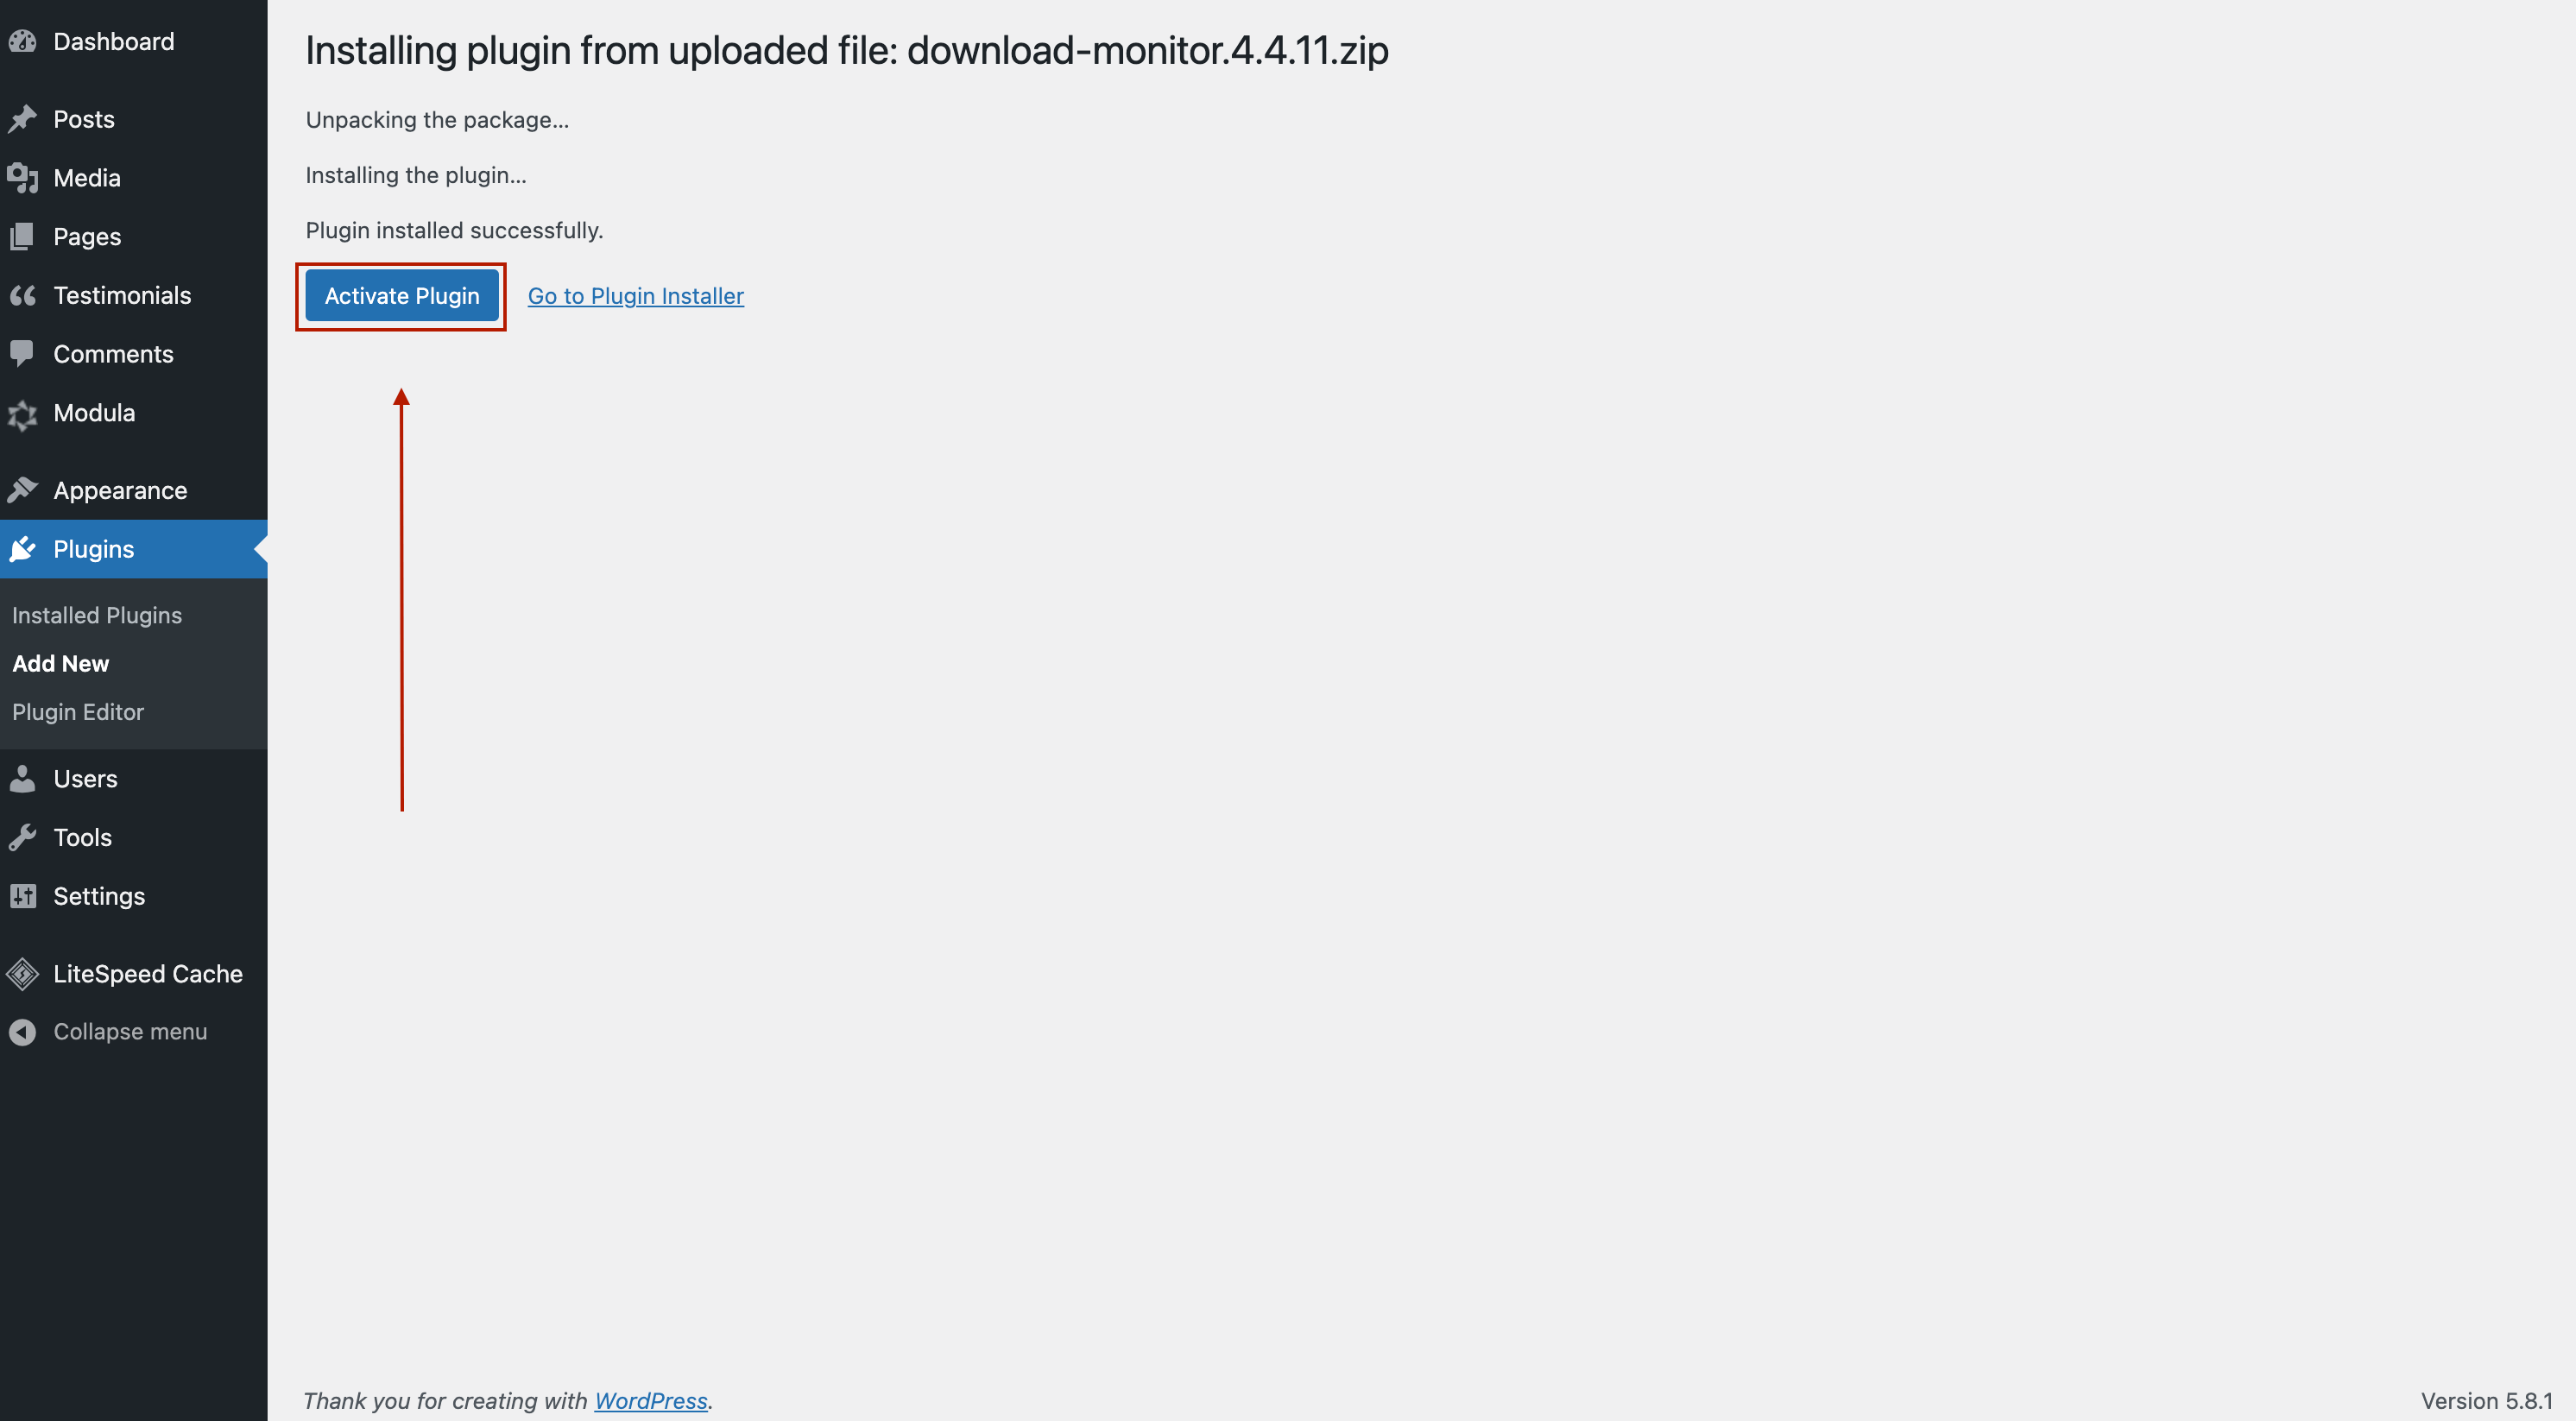
- All you have to do now is to activate Download Monitor, and you’re good to go.

If you need to activate your extensions, here‘s an article on how to do it.
Ready to start offering downloads? Click here to learn how to create your first download!
If you purchased one of our premium plans please make sure to follow the steps in here on how to install your extensions and activate your license key!
